Pro Tips
How to color silicone parts
Request and reality
We frequently get asked about how to paint silicone props, which are often tangibly used, in a simple, durable, and low-maintenance way. At the same time, a “cinematic” result is expected and all SFX techniques such as airbrushing, splattering, and layering should be applied.First, it should be said that based on the research for this article and from my own experience, I have to say that a minuscule, technically simple, quickly implemented, and harmless method of designing silicone parts is wishful thinking.
If you want “Hollywood”, you must plan on providing props multiple times and refurbishing used parts repeatedly.
However, with only minor sacrifices to cinematic quality (if any) and somewhat unconventional techniques, silicone props can certainly be colored in a very resilient manner. There are suppliers of specific silicone paints for painting parts, but Kryolan also has everything you need.
The hole in the skull pictured was a commissioned piece for the Bregenz Festival. The task was to produce a shiny bleeding injury to be sewn into a light gray human hair wig, which was not allowed to rub off under any circumstances. Thanks to the tests for Nero’s mother, I can now pass on some hopefully helpful tips. Good luck!
Coloring goes over painting
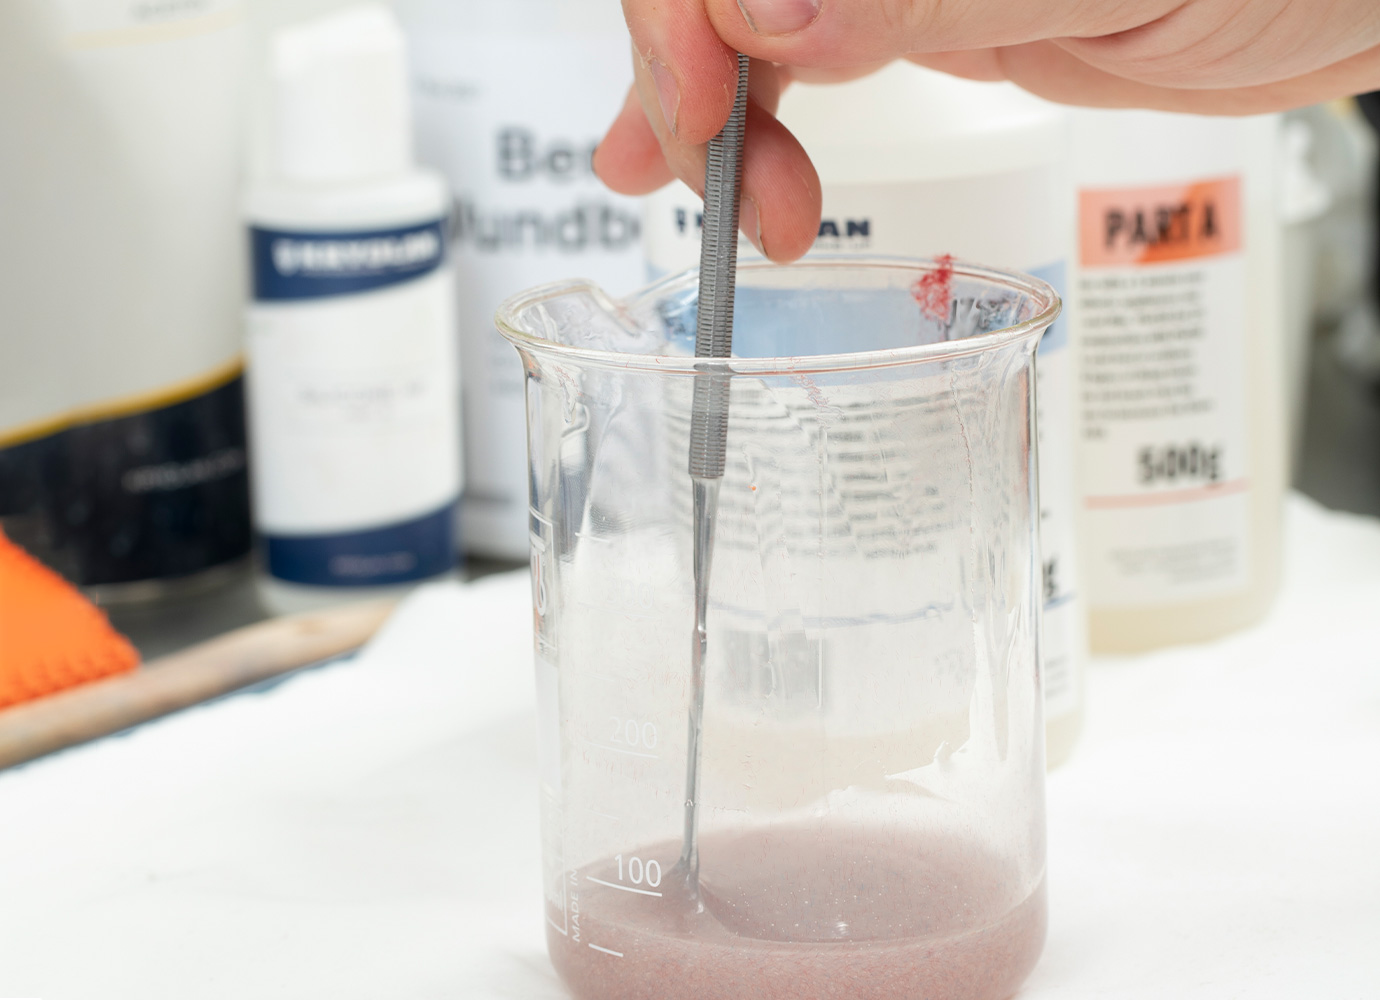
Anything encased in silicone is stable, abrasion-resistant, and washable for years. That’s why I try to get as close as possible to the finished skin tone and desired design with internal coloring.Our Silicone Colorizer is perfect for this purpose. The extremely intense color pastes dye silicone preparations translucent or fully opaque and can be easily stirred in. It is better to start with a tiny amount of Colorizer and add more if needed - I accidentally colored several badges way too strong at the beginning.
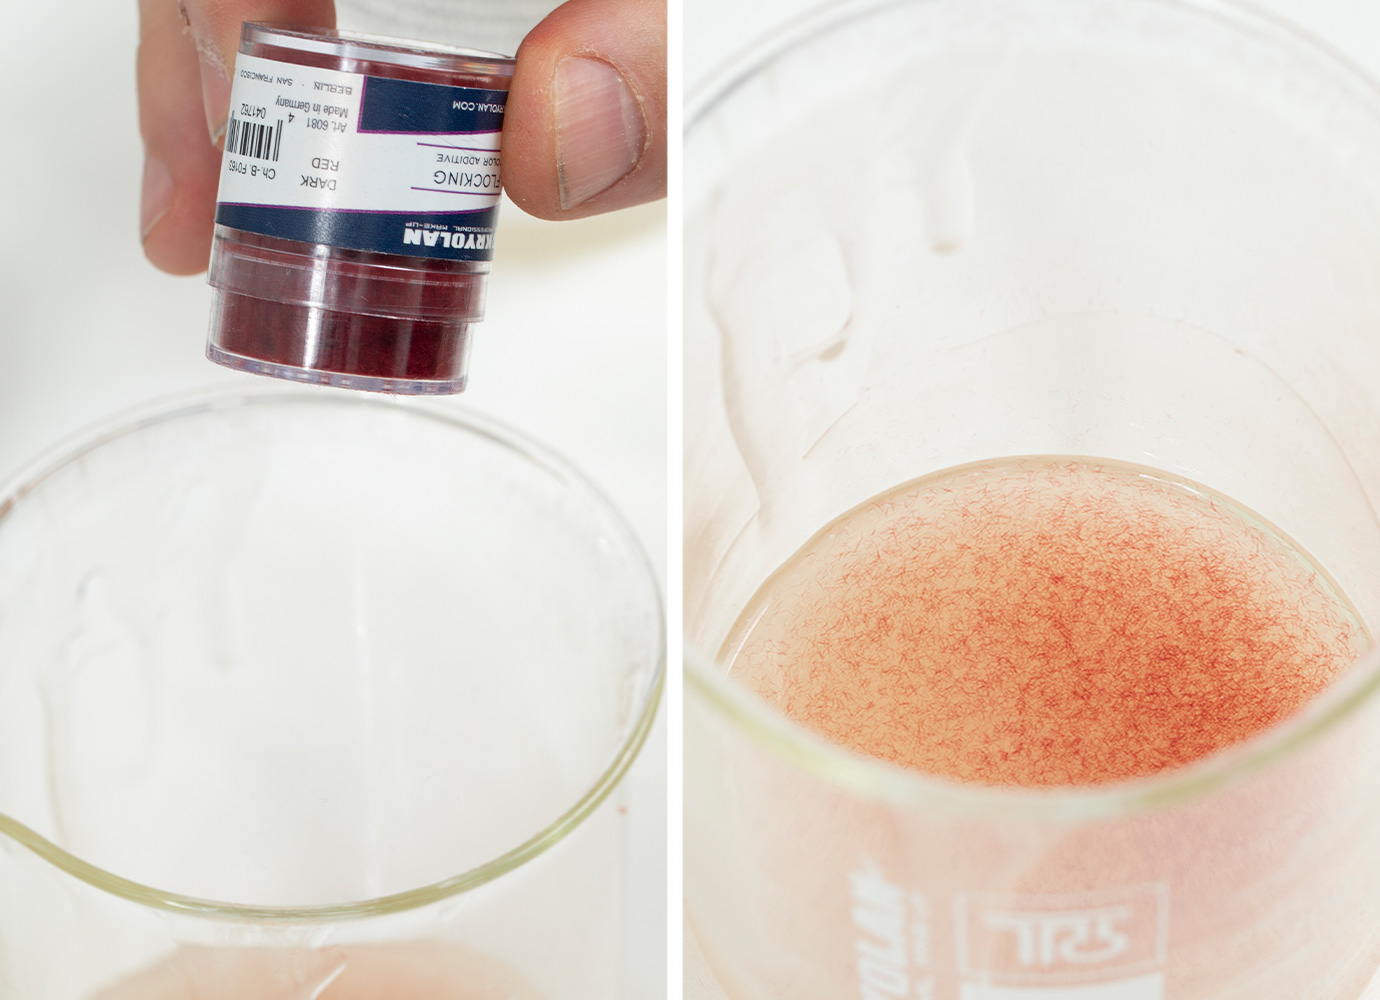
Flocking Color Additive Shaker is indispensable for a lively multicolored, uneven color image. These viscose fibers are extremely fine and short and give a translucent silicone piece color and optical depth. For large badges, I recommend Flocking Color Additive 50 g in the 50g can.
However, the Flocking Color Additive Shaker is particularly practical. It contains a smaller amount of flocking in a handy shaker and can also be refilled. The shaker prevents lumps and makes it much easier to dose fine amounts.
Flocking Color Additive 50 g is available in various colors tailored to make-up artists’ needs. Skin tones provide an extremely translucent color result and can also be used instead of the Silicone Colorizer. Red and blue tones simulate circulation, vivid and sober colors allow for an extremely versatile color design.
I recommend stirring the Silicone Colorizer and Flocking Color Additive 50 g into one component at your leisure and only then starting the reaction.
With the help of Silicone Colorizer (olive) and the Flocking Color Additive 50 g (dark red) and Flocking Color Additive 50 g (ocean blue), a pale skullcap can be imitated quickly and easily. This tint is in the silicone and will never be rubbed or washed off.
Painting with Silicone MF
For painting silicone parts with the main goal of permanent coloration, only silicones can be considered. Other suppliers offer very expensive 2-3 component systems, but I wanted to manage without such purchases. And after a few trials, the solution was quite simple: Our life-casting silicone سيليكون أم إف Silicone MF sets extremely quickly, reacts strongly on the cast silicone part, and is touch-proof after setting.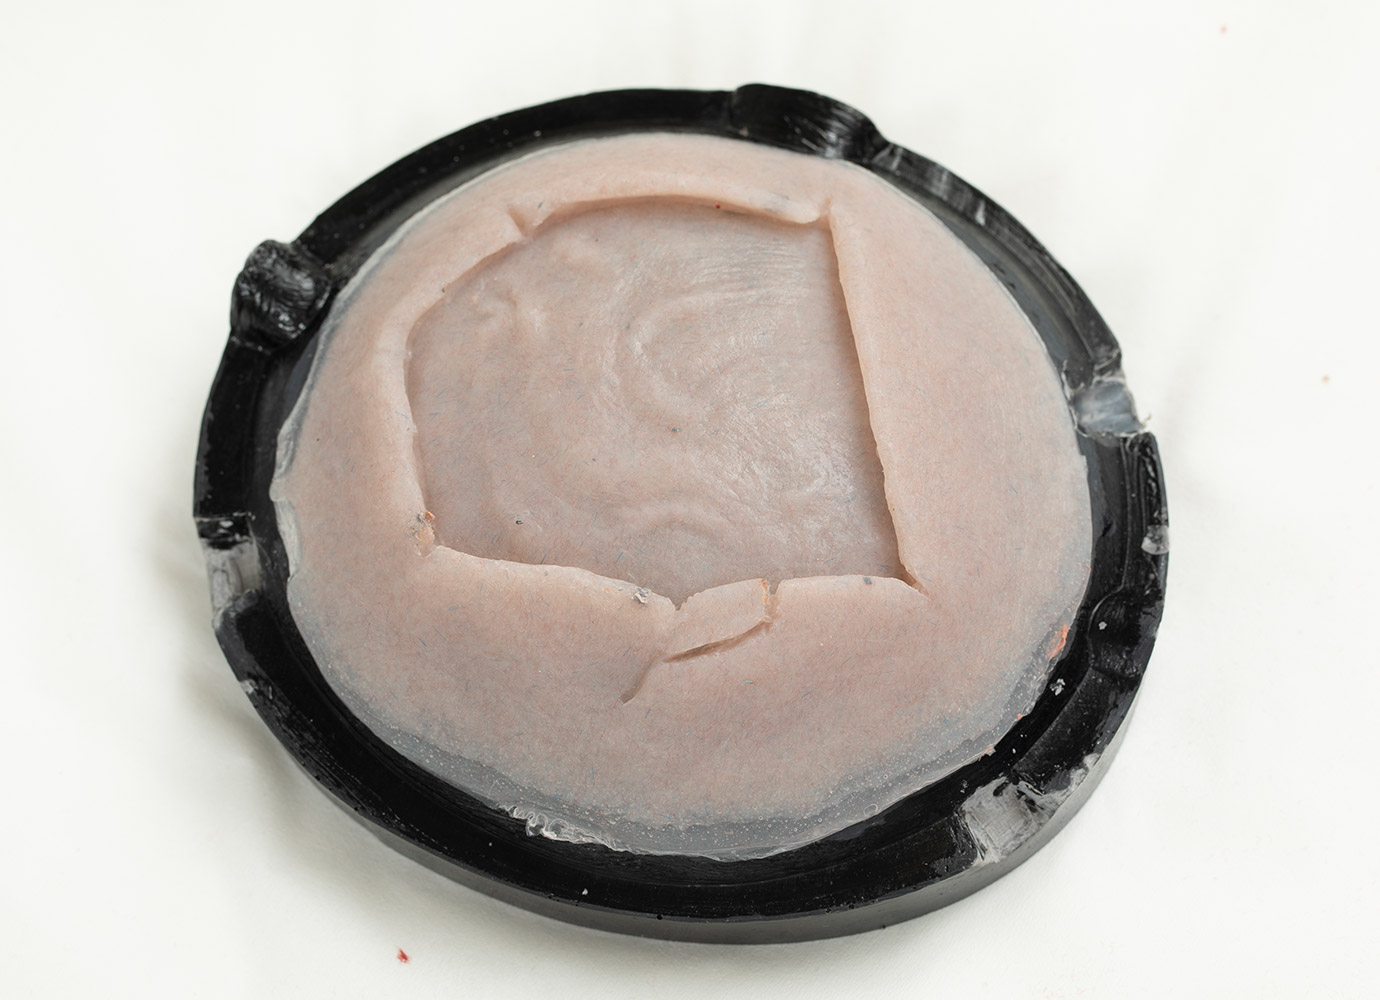
An important rule for successful work with this method is a “fresh” painting base. The silicone part to be designed should be painted as soon as possible after demolding. I have not conducted a larger series of tests to determine how long a casting can lie before this painting no longer adheres. And in individual tests with older silicones, the سيليكون أم إف Silicone MF also still adhered very well - but to be on the safe side, you should schedule casting and painting immediately after each other. Under no circumstances should you temper the silicone, i.e., accelerate the reaction with heat.
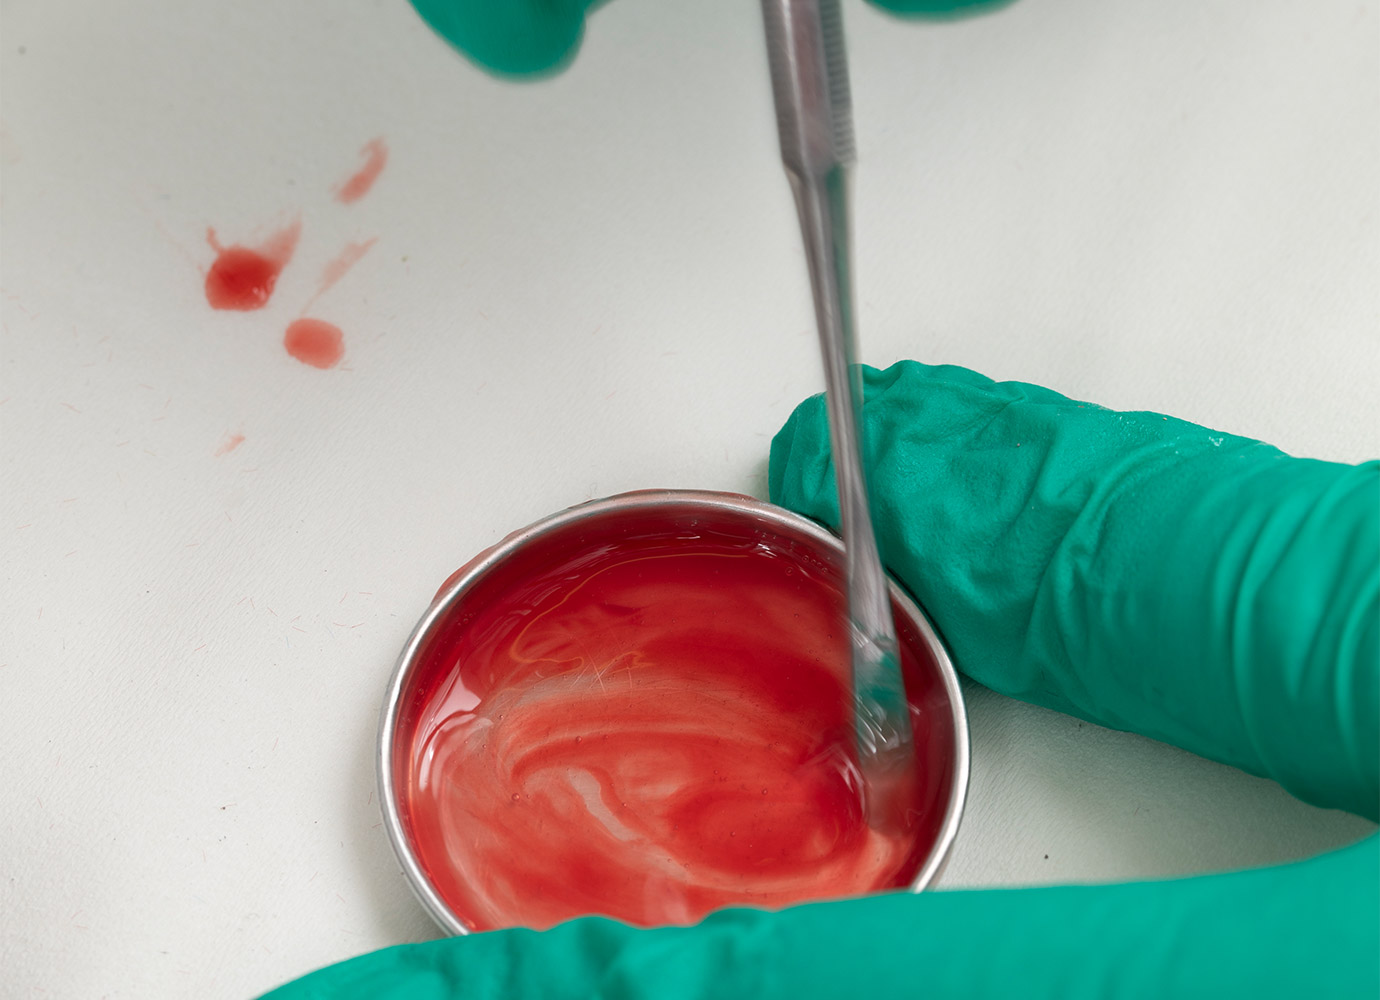
For easy painting, you can simply color the سيليكون أم إف Silicone MF with the Silicone Colorizer (for these small amounts, I already use toothpicks and postiche pins as dosing aids). After adding, you then have about 5 minutes to apply the silicone color to the workpiece. After 20 minutes, the paint layer has reacted through and bonded inseparably to the base material. Use a hairdryer to accelerate this to seconds.
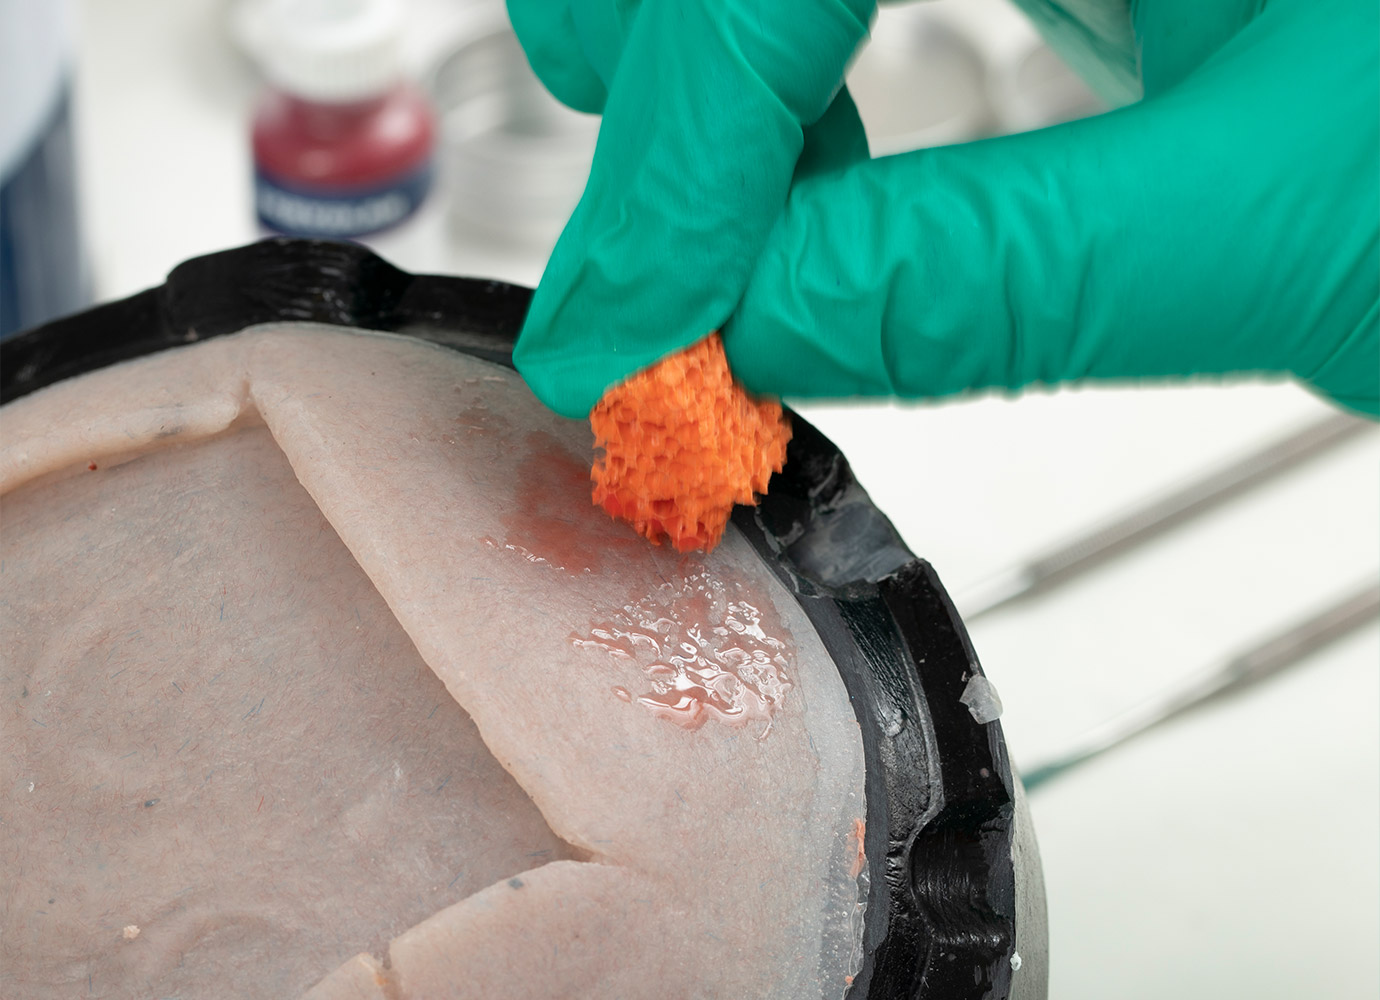
For a more fluid texture and additional fineness, you can dilute the color batch with rubbing alcohol. In this case, please work with appropriate work protection. These pictures were taken in our exhaust fan. By dosing the Silicone Colorizer and diluting it with rubbing alcohol, you can achieve very fine washes; a stipple sponge provides irregular application. Also, experiment with the different textures during the setting of the Silicone MF Color.
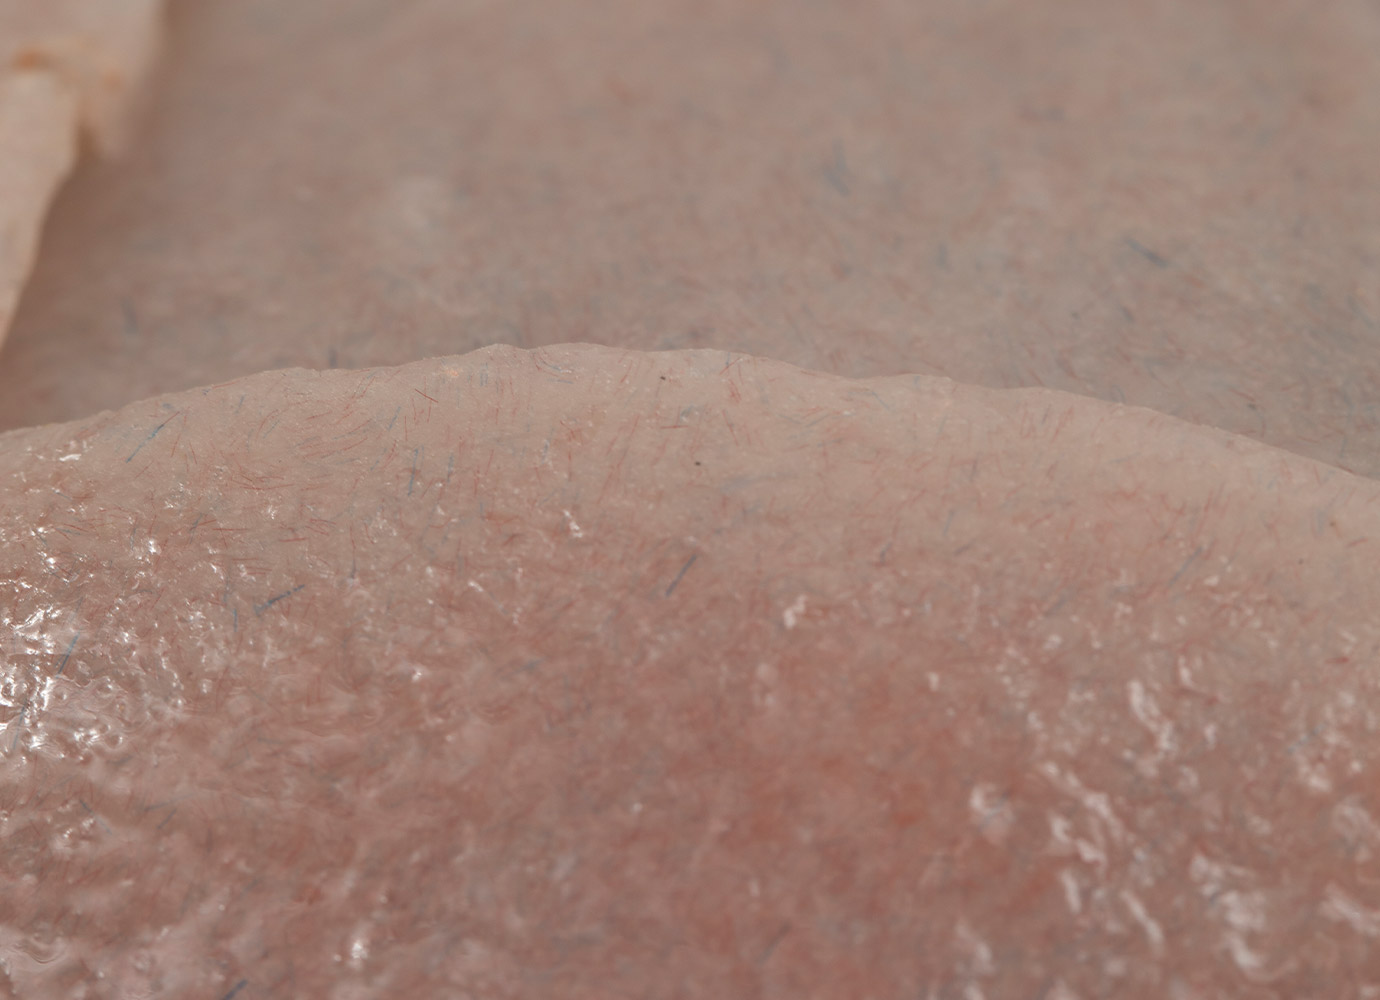
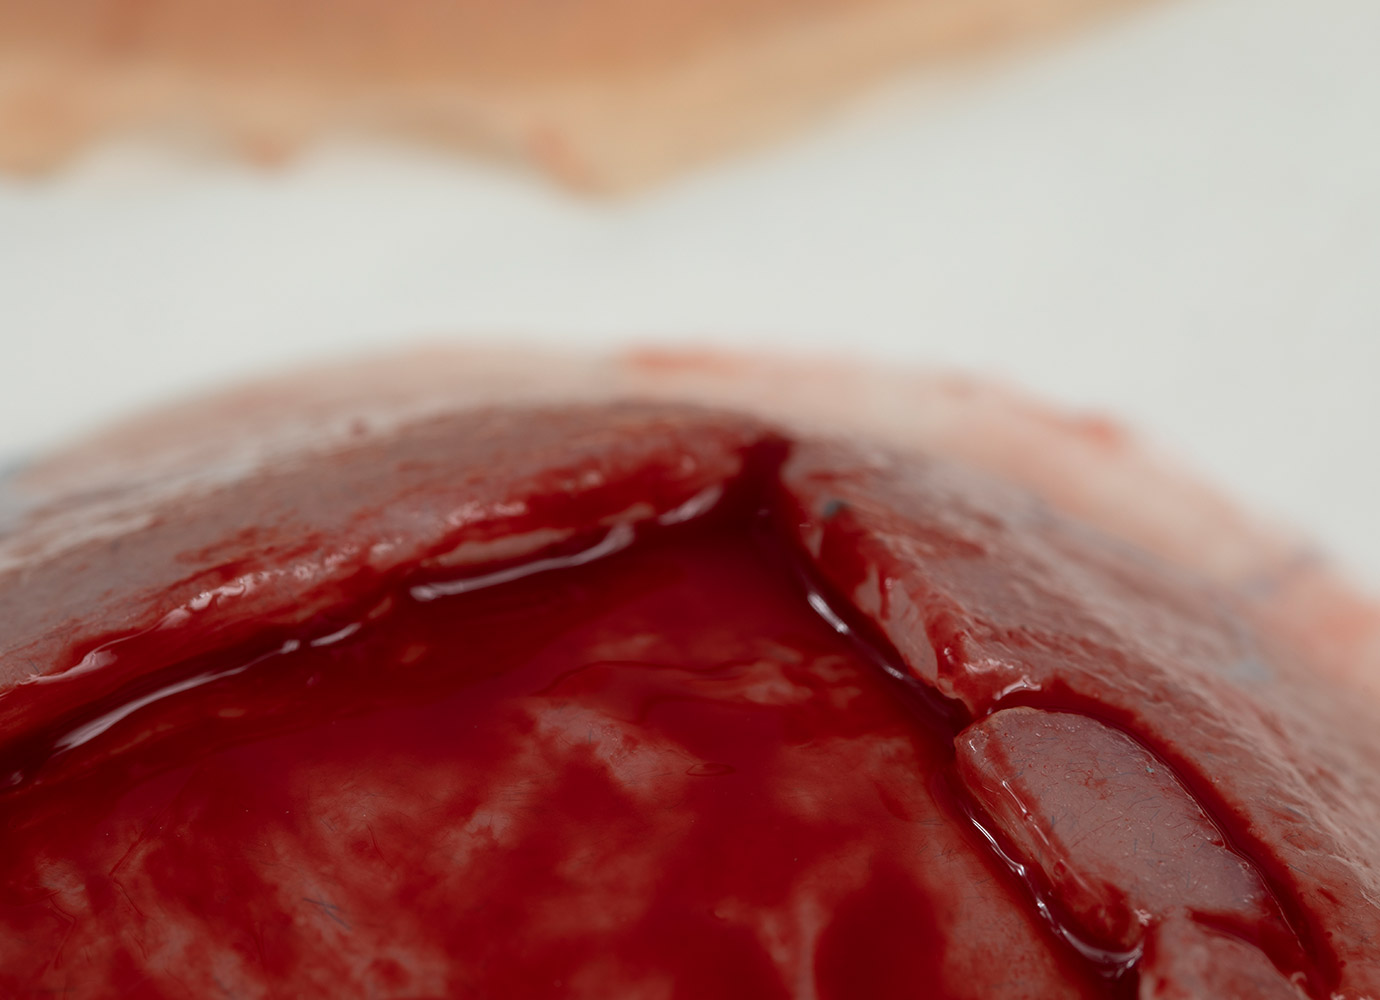
This macro image should prove that color gradients and veils are possible with this method, which will hold their own with all imaging methods.
For more vibrancy and duping the digital image, you can also splatter the color with a bristle brush or toothbrush.
For doing this, the texture needs to be a little firmer and stronger in coloration than for a wash.
I have also run this mixture through the Silicone Colorizer. With a sufficient nozzle size (>0.4mm), this also works quite well - but the complex cleaning seems too time-consuming to me, and the result with sponges and others is sufficiently fine.
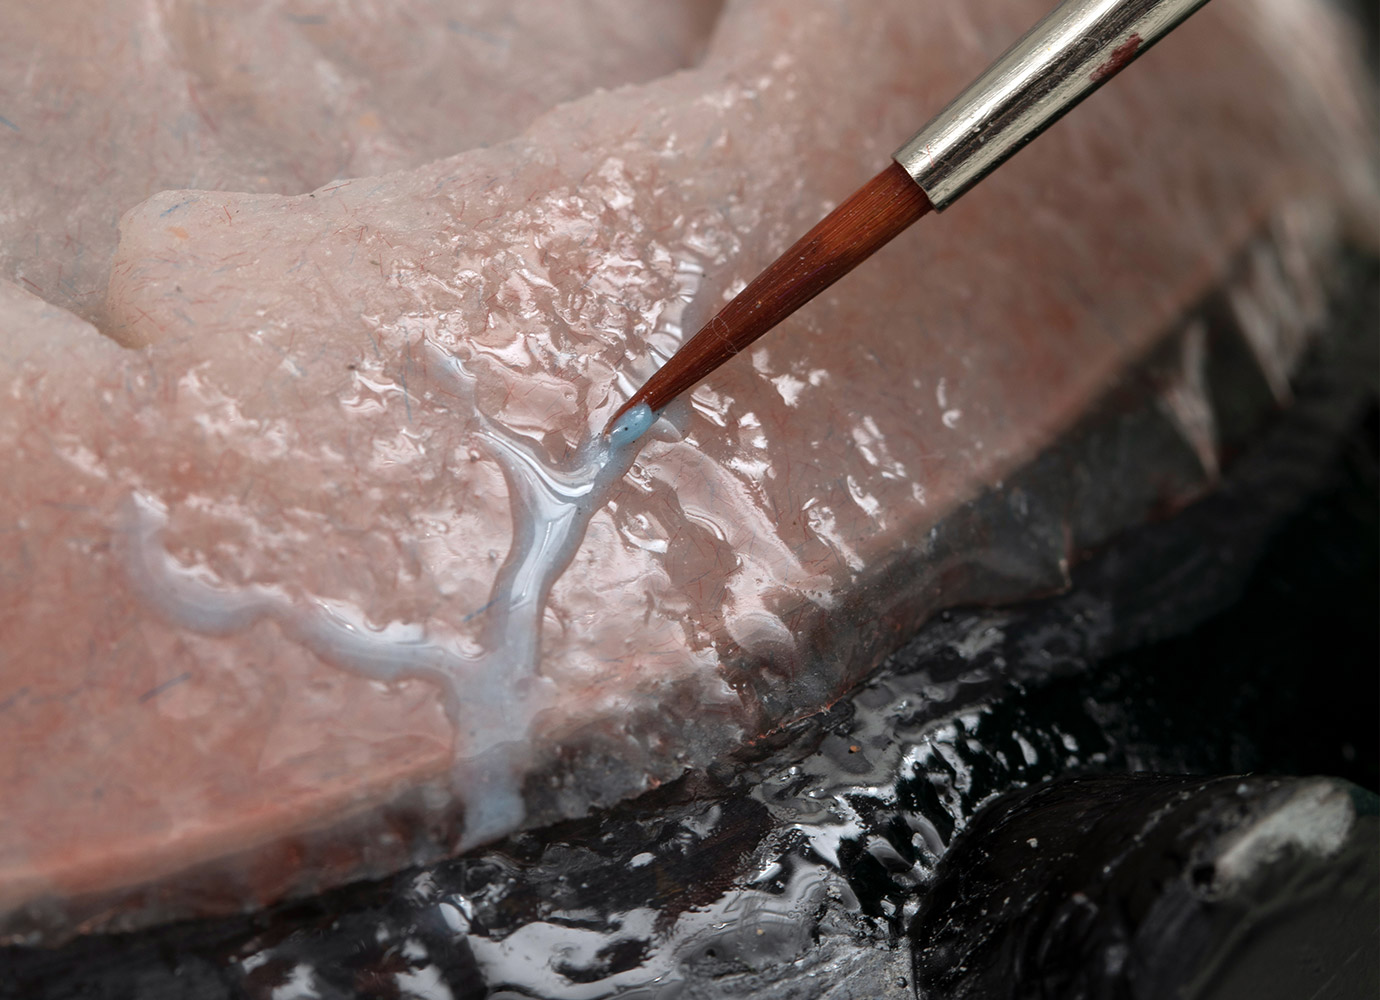
An interesting feature of the pasty color mixture of Silicone MF is the plastic application. The small veins stand out visibly.
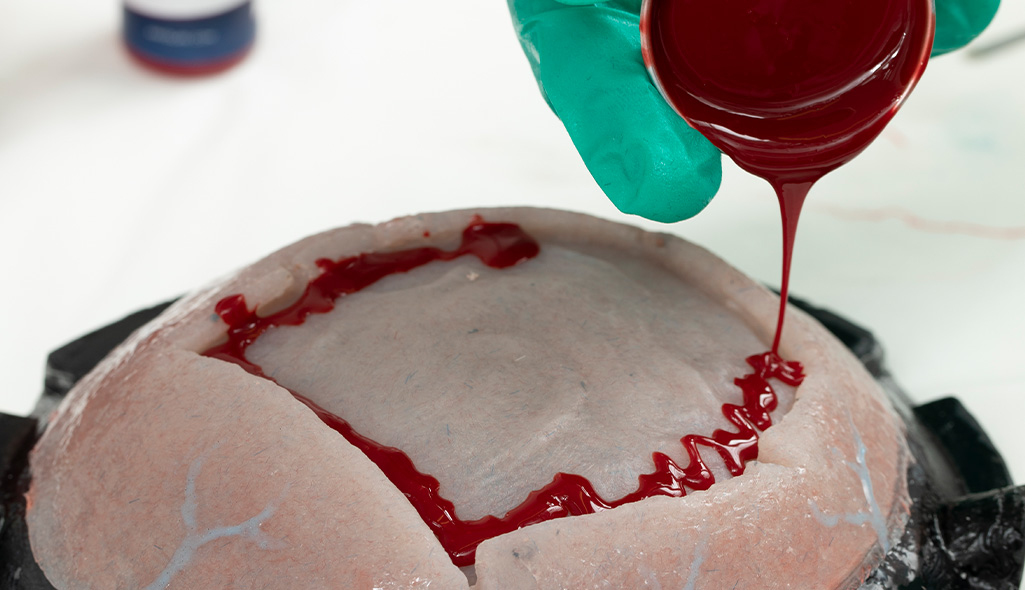
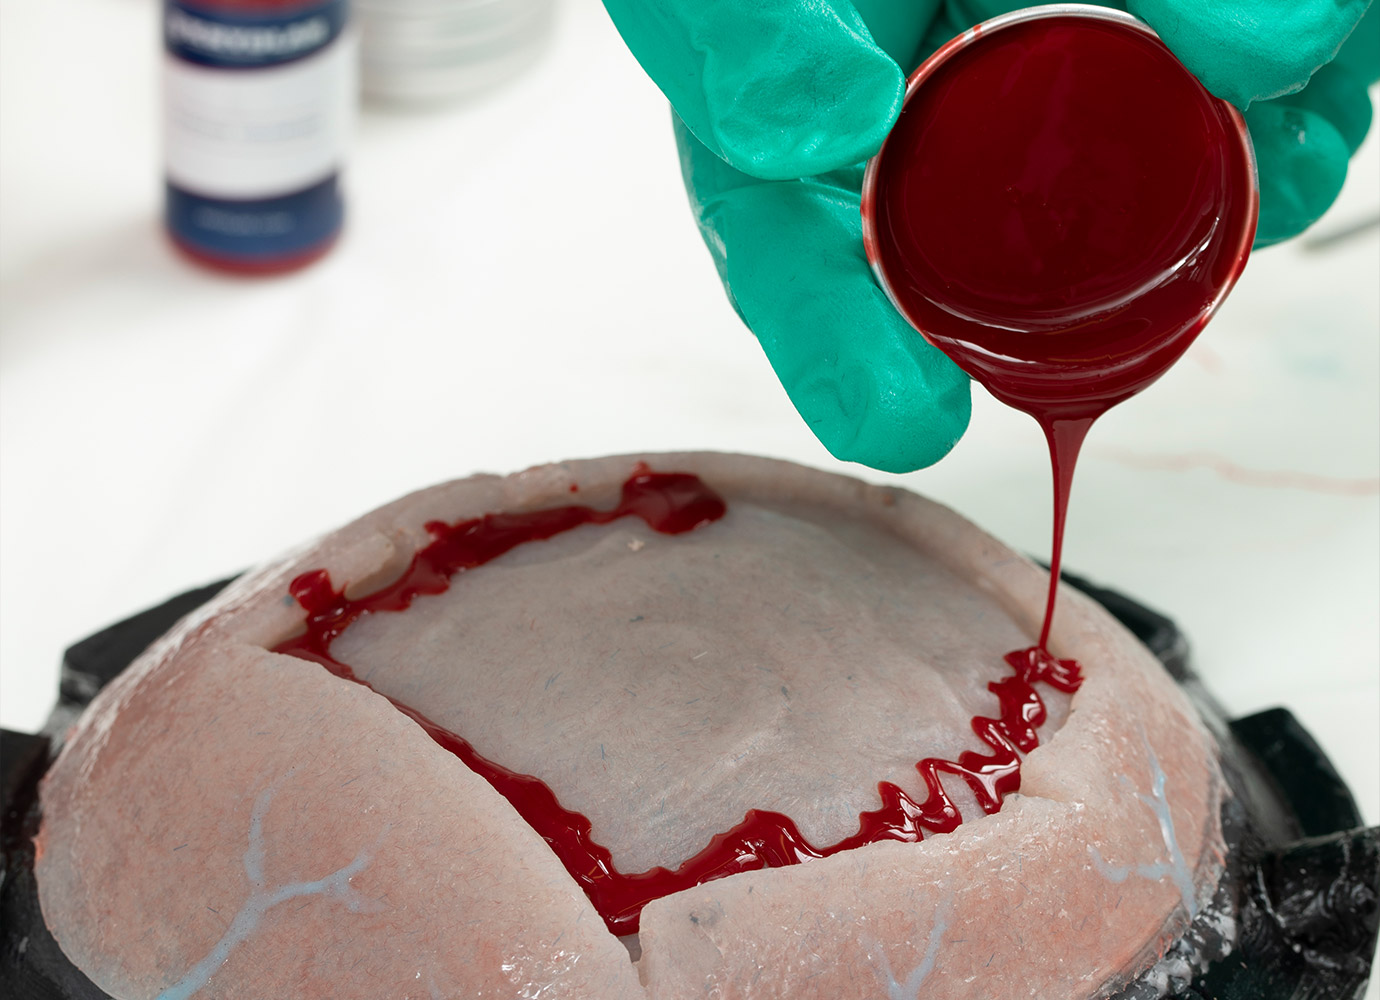
The task for the festival was to create the impression of liquid blood, which must not stain under any circumstances. With appropriate sculpting of the workpiece, the fluidity of the Silicone MF color can be perfectly exploited to mock a liquid that is not one.
سيليكون أم إف Silicone MF with a high amount of Silicone Colorizer results in a very slightly translucent, convincing “silicone blood”.
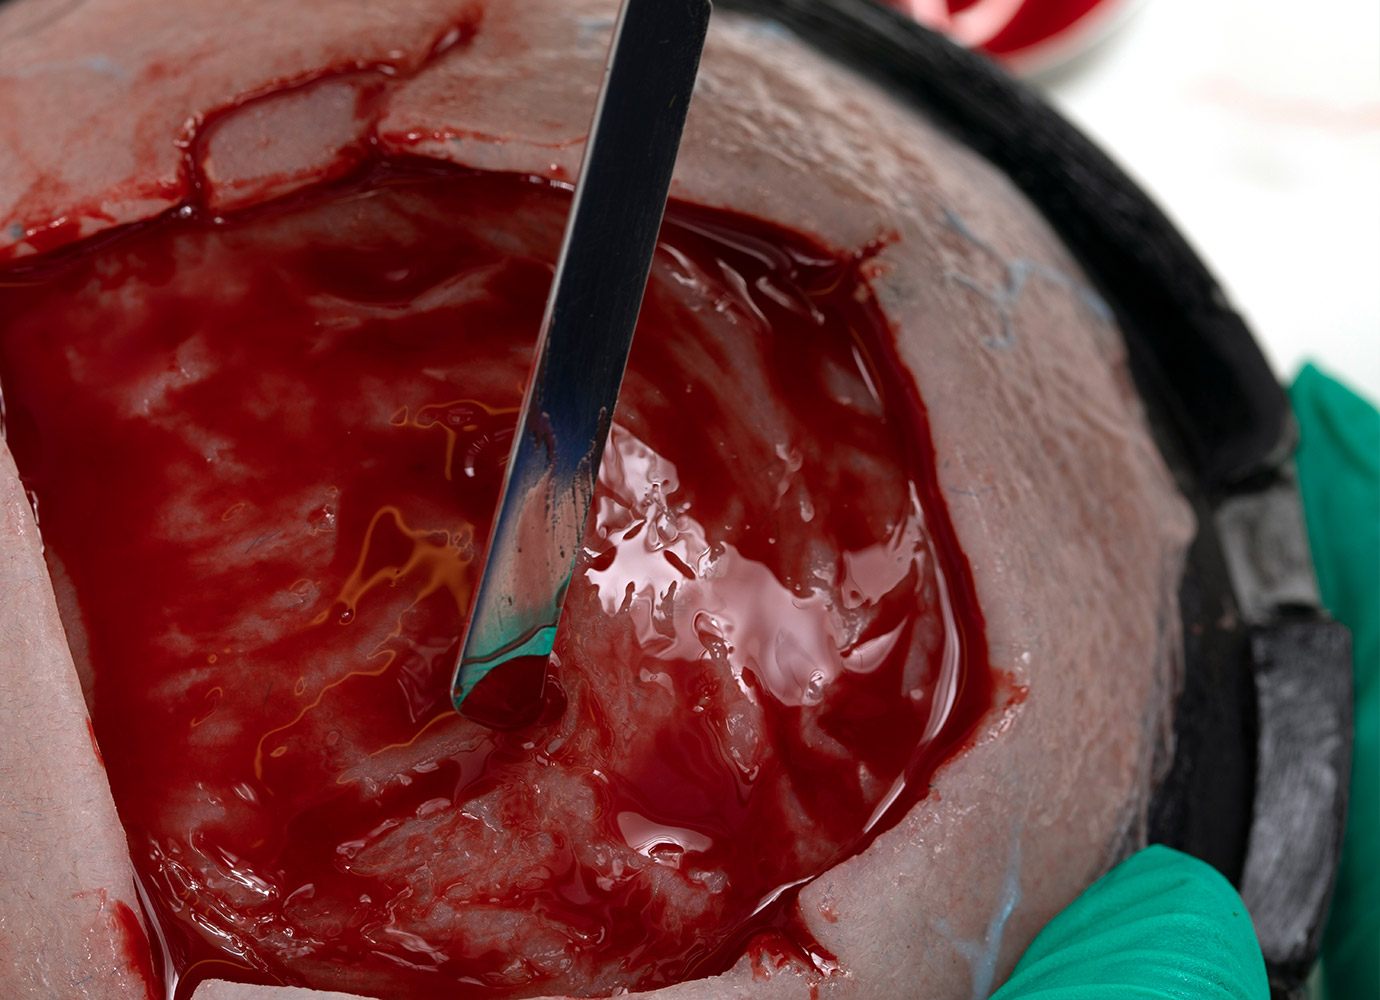
While you can use it as paint with a spatula or brush, in larger quantities, it flows into every crevice and pore and forms very realistic-looking puddles and accumulations. You can rub it into depressions, level it off or smear and even splatter the blood-red silicone.
Cast Silicone MF paint forms high-gloss, mirror-smooth surfaces. If the shine is ever somewhat lost through contact, simple cleaning, or a tiny amount of زيت مزيل المكياج المائي 100 مل or hairspray will help restore the old high shine - without endangering wigs, natural hair, or costumes.
Once the سيليكون أم إف Silicone MF has been properly cured, it can no longer be pulled or washed off the silicone piece. It can be stretched, pulled, or bent without the paint layer flaking off. The prototypes in my workshop, which are about 12 months old, show no signs of aging.
I hope I was able to share some helpful tricks.
In any case, I will enthusiastically get to work on some chopped-off hands that still need some durable painting.